Vappusima Recipe
22 April, 2023
Every year on the 1st of May we celebrate Vappu here in Finland, during which we drink Sima, a type of fermented mead traditionally seasoned with honey and lemon. In this post we go through how to make it at home.
Before you begin
- The process will take between 3-7 days, depending on your specific conditions.
- Recipe will yield roughly 10 liters of product, but can be adjusted to meet your needs.
- Sima produced by this recipe will have around 8-10% alcohol content.
- Recipe only uses the metric system.
Equipment and ingredients
- Brewing vat
- Bottles
- Large pot
- 1kg granulated sugar
- 500g brown sugar
- 500g honey
- 1 lemon
- 1-2 oranges
- 1-3 cinnamon sticks
- 50g of fresh yeast (dry yeast works too, but IDK how much to put in)
Optional things to make your life easier:
- Another large container
- Colander
- Siphon
- Food thermometer
- A brewing pouch for containing the lemon and orange rinds + pulp
- Hydrometer (or a refractometer) for checking the alcohol content
Choosing the right bottle
You can use whatever bottles you can get your hands on, but there is one important thing to keep in mind: the pressure inside the bottle will build up as CO2 is generated during fermentation.
For plastic bottles, either leave the caps a little loose, or open the bottles up periodically to allow some of the CO2 to escape. If you don’t do this, they will eventually explode. In my opinion, the best choice are these glass flip-top bottles, as they will not will suddenly burst open, and also leak very little CO2, making the end product more bubbly.
Cleaning the equipment
Many online resources state that unless you meticulously scrub all equipment and surfaces with purpose made sanitizers, the end product will inevitably be spoiled. Humans have been making fermented alchol for thousands of years, and I don’t think there were specialised cleaning products in ancient China.
This is not to say that the batch couldn’t be ruined by disregarding basic hygiene, so wash your equipment (this includes your hands) with soap and hot water, and make sure to rinse them liberally afterwards.
Step 2: Preparing the mead base
Heat up 3 liters of water in a large pot. Dump in all the sugar and honey, and whisk until dissolved.
Add the cinnamon sticks and leave simmering on low heat.

Dissolving honey and sugar into water
Peel off some lemon and orange rinds, and throw them into the pot. Cut the lemons and oranges in halves, and squeeze the juice into the pot (preferrably through a colander). Place the fruit to the side for later.
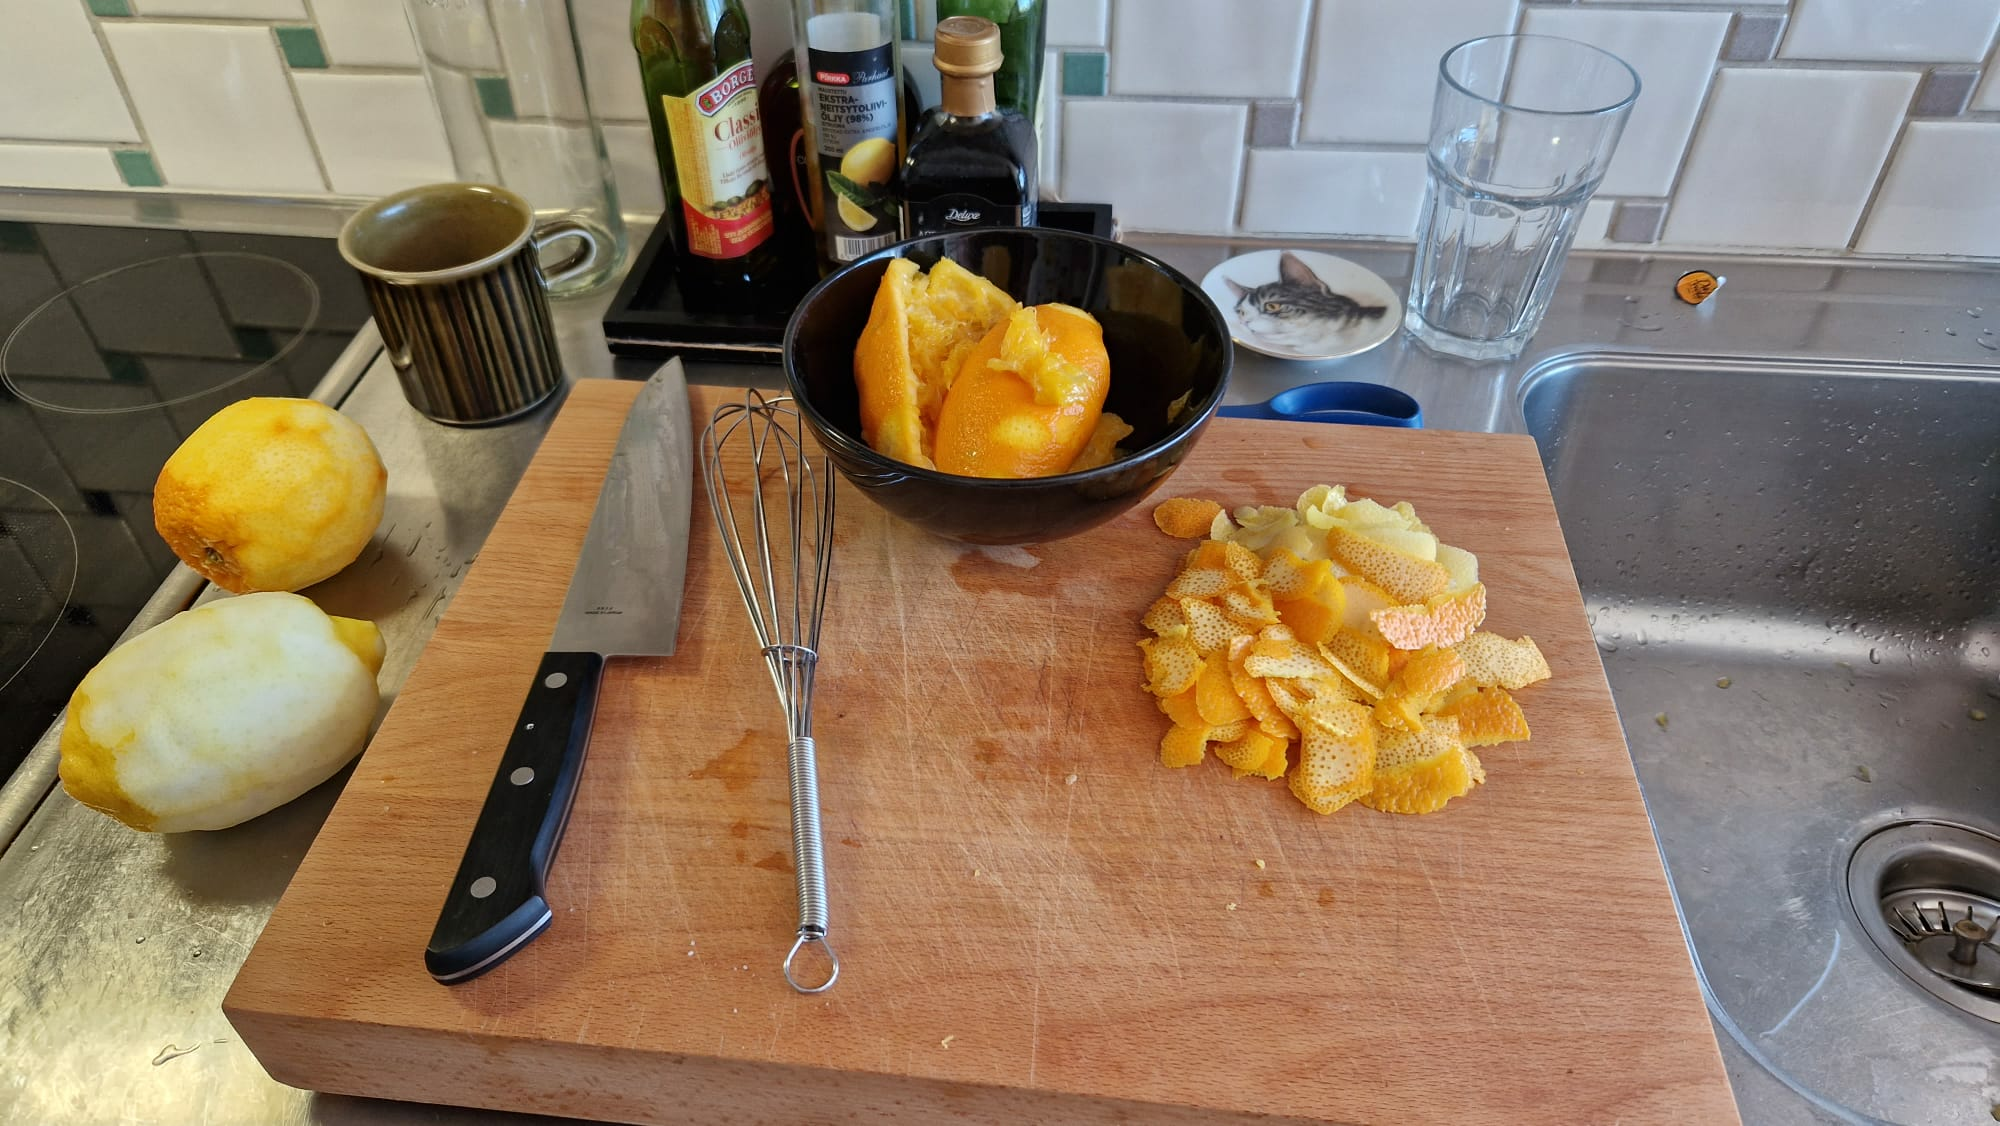
Harvesting lemon and orange peels + juice
After the liquid has simmered for 10 minutes, remove the rinds and cinnamon sticks, and dump the liquid into your brewing vat.
Add cold water into the vat in such a way that there is exactly 10 liters of liquid, and the temperature is suitable for your choice of yeast (between 25-40°C should be fine).
If you don’t have a thermometer to check the temperature, aim for a liquid that is slightly warm to the touch: as long as it’s not too hot for the yeast to die, and not too cold to stop it from activating, it’s fine.
Add the yeast, stir aggressively to incorporate.
If you have a brewing pouch, fill it with the citrus pulp and throw it into the vat.
Close the vat, and let the mead base ferment for 1-3 days in a warm place. Fermentation time depends on the type and amount of yeast used, but for fresh yeast 2 days should be sufficient.
If possible, move the vat somewhere cool 12-24 hours before bottling. This way the yeast has time to deactivate and fall to the bottom, making next steps easier.
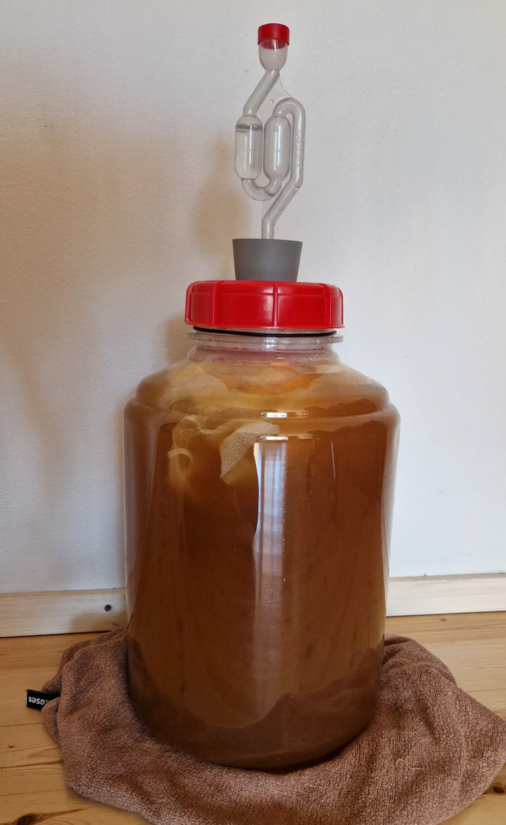
A brewing vat filled with sima sitting on the floor
Step 3: Bottling and cold fermentation
When bottling, try not to shake the vat, as this disturbs the sediment at the bottom. If you have a siphon at your disposal, now is the time to use it. If not, I recommend ladeling (or pouring if you are brave) the liquid into a different container.
However you go about this, the point is to remove the liquid while leaving the yeasty goop at the bottom of the vat behind.
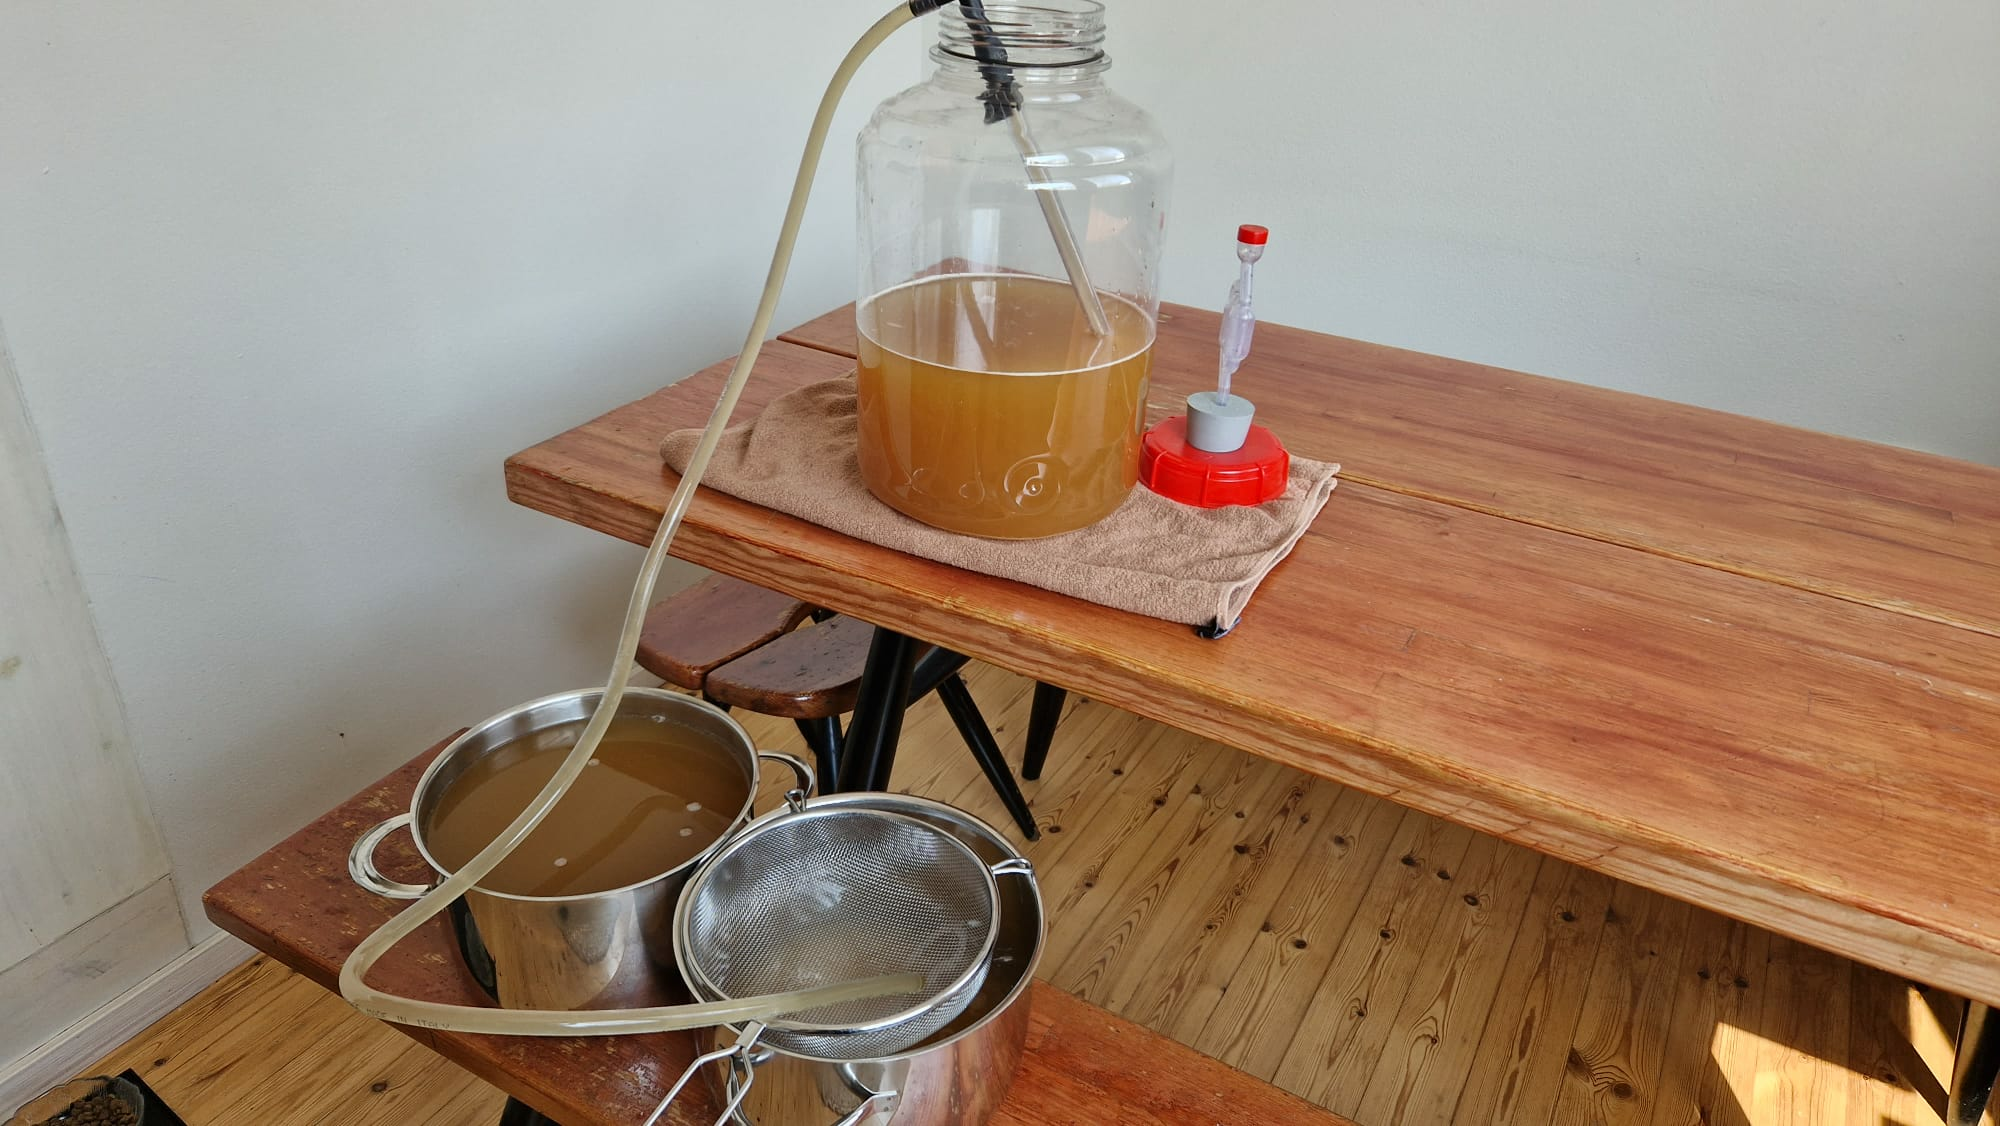
Siphoning sima from the brewing vat into some pots
Before bottling, taste the sima and see if it needs any additional sweetening. Depending on how active the yeast has been (i.e. how much sugar it has consumed), the sima might be a little dry. If this is the case, add some cane sugar or honey for sweetness.
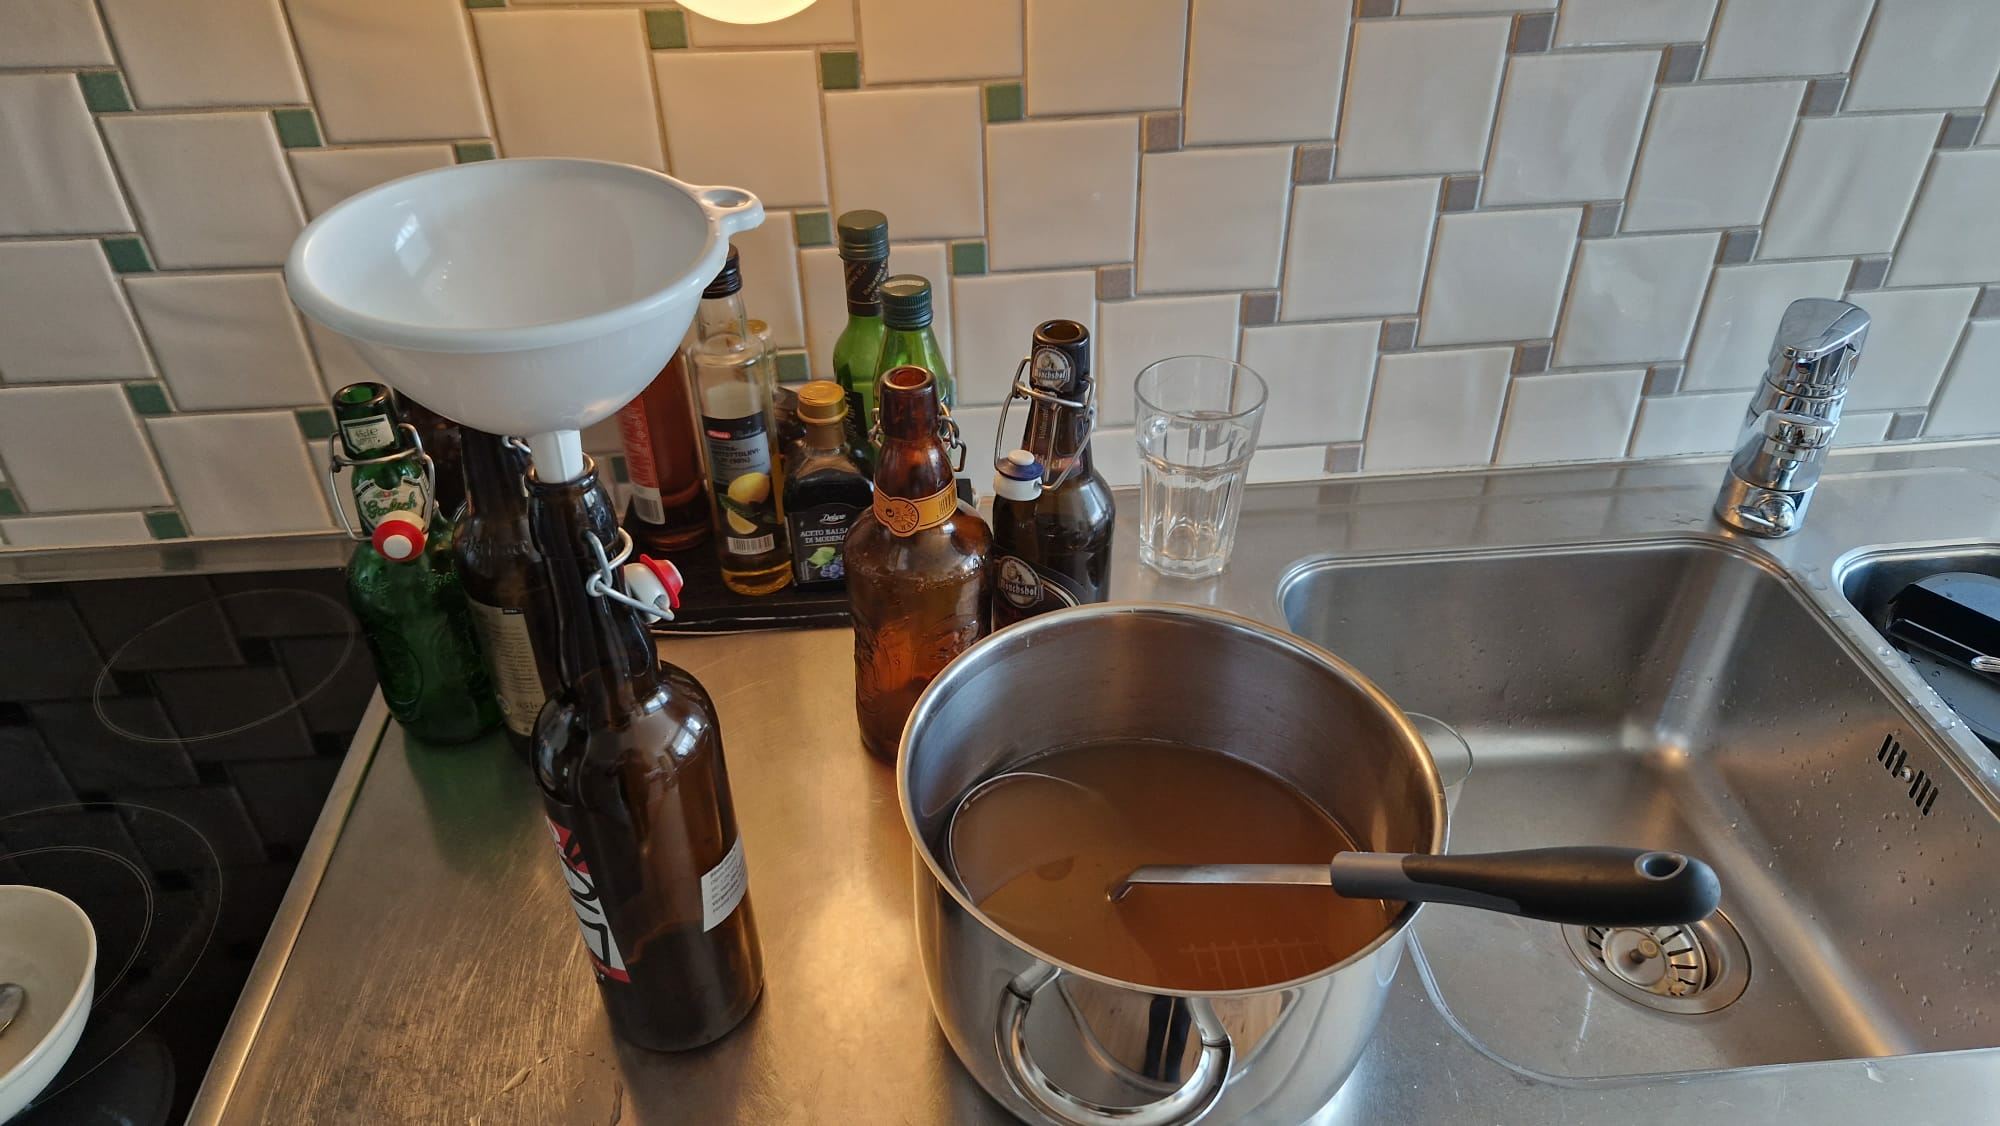
Sima being bottled
The last step is to place the bottles somewhere cool (e.g. a refigirator) to ferment for additional 1-4 days. Do not skip this step, as it not only adds more bubbles, but also get’s rid of the yeasty taste that may or may not be present at this stage (depending on how much of the goop you included when siphoning).
In Conclusion
Congratulations, you should now have about 10 liters of delicious sima, and if not, try again next year.
This recipe assumes you have a brewing vat and some other basic kitchen tools at your disposal, and that is by purpose: you can probably MacGyver through the process with just a bucket and some plastic wrap, but brewing vats are very affordable (and the process does take some time and effort), so why not do it well?
Drink responsibly, and have a good Vappu!
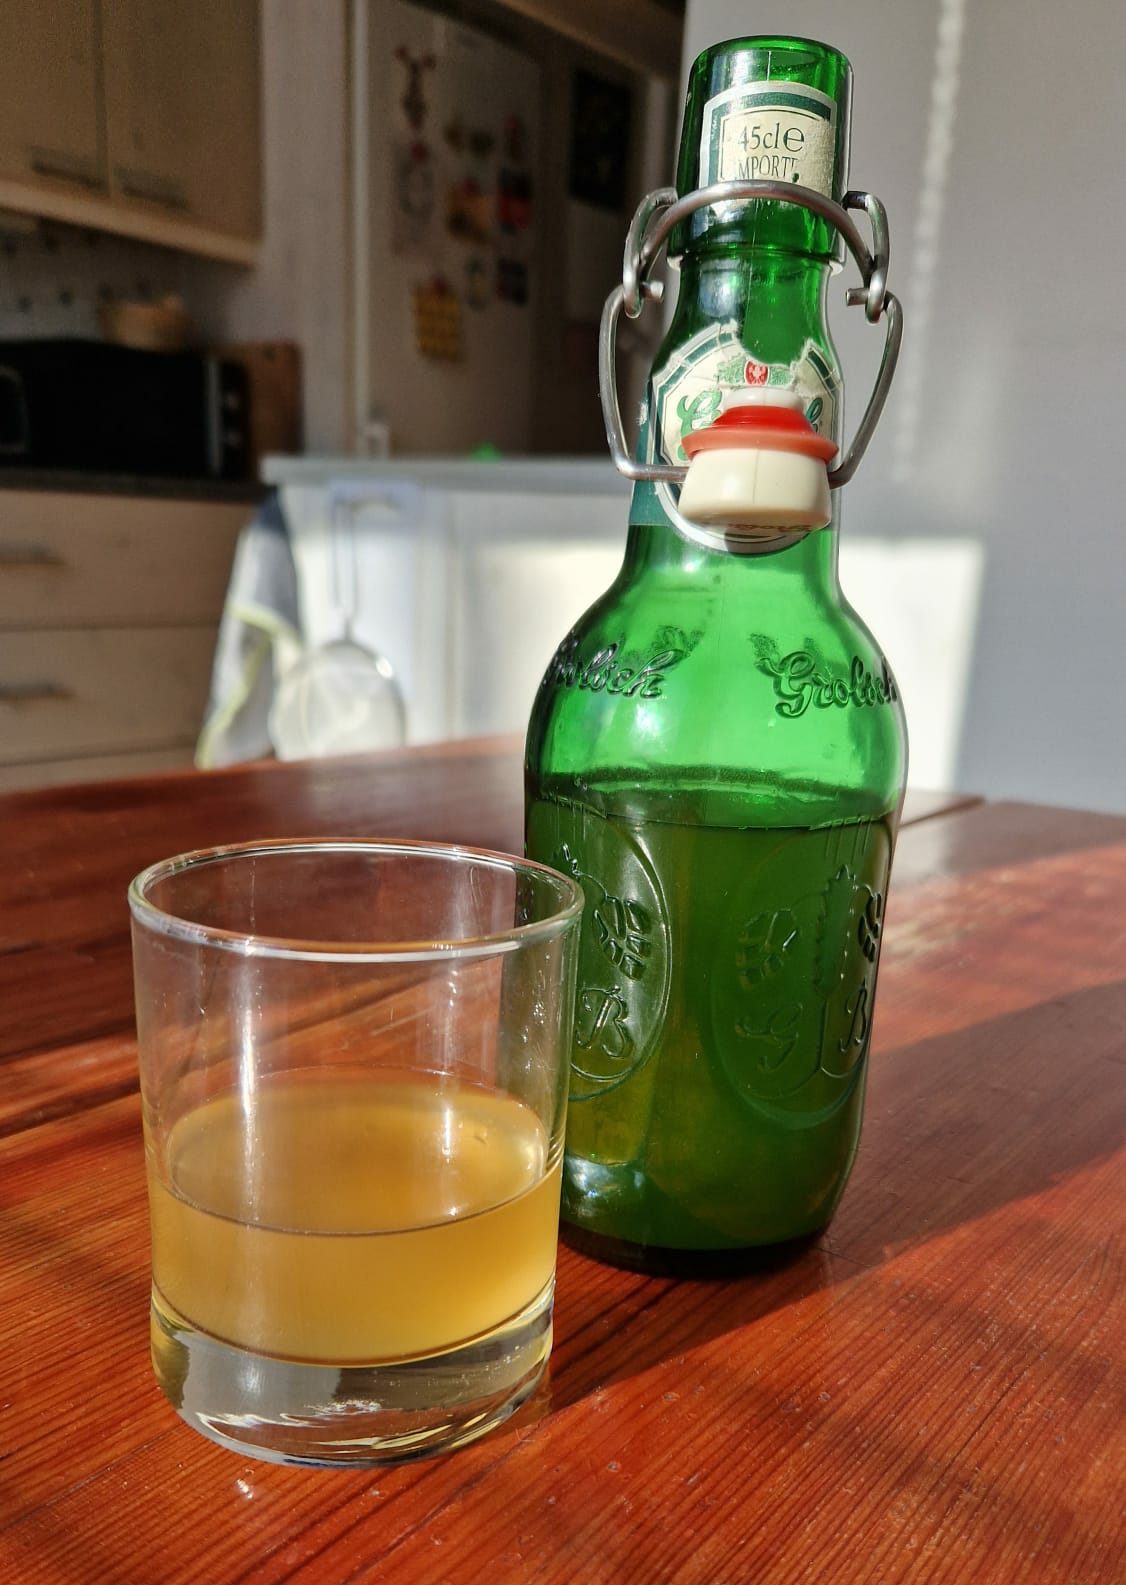
Delicious sima basking in the sun